
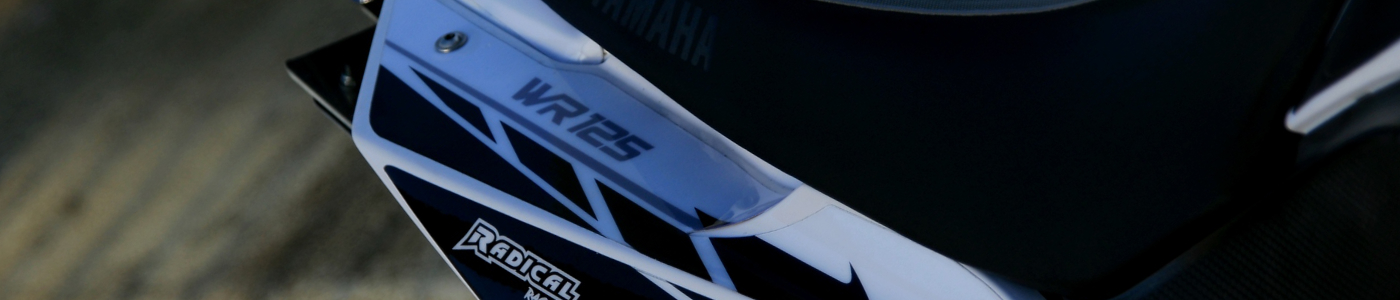
 Lichtmaskenbefestigung, Aprilia RX/SX 125 Bj. 18-20
Almost gone


Out of Stock
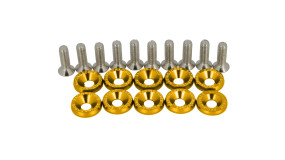 Cladding screw set, universal, various colors Colors, M6x20, 10 pieces
Available


Available


Out of Stock

Available


Almost gone
 Light mask / headlight cover, Rieju MRT 125 from year 21, various colors Colors
Available

Almost gone


Available

Almost gone

Almost gone
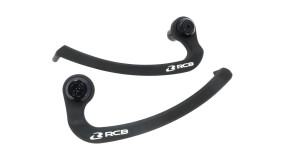
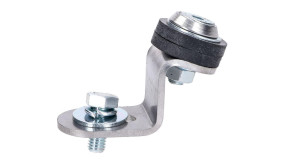 Mounting bracket Schmitt, universell
Almost gone
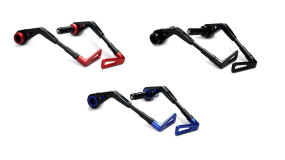

Available

Out of Stock

Out of Stock


Available


Available


Available

Out of Stock

Available

Available

Available

Available
Motorbike fairings – the basics
If you've had a crash, or your bike has simply fallen over, the fairings on your 125 usually take the worst of it. When a quick respray or touch-up of the cracked or battered bodywork just won't cut it any more, the only option is to replace the part. That's why we offer a range of genuine OEM fairing parts as well as quality aftermarket replicas. We check the fit and quality of these replacement parts to make sure they're easy to swap and fit perfectly.
Repairing your fairings
Instead of replacing a damaged fairing on your Yamaha WR / YZF-R 125, KTM Duke 125 or any other 125, repairing it is also an option – and saves you buying expensive OEM parts.
Minor scratches can often be polished out with a good polish or even cutting compound. Bear in mind, though, that self-coloured plastic panels don't polish up as nicely as painted parts. For cracks or deep scratches, the only fix is often to cover them with graphics – or, depending on the size of the damage, to use filler and fibreglass matting to reinforce and repair the damaged panel.
Once you've used filler, painting the panel is a must. Because it's not easy to match the original colour – and original paints can be very expensive – why not give your whole bike a fresh new look? How about an azure-blue KTM Duke or a KTM-orange Yamaha MT 125? You'll find more on painting in our "Paints, Polishes & Painting Supplies" category.
Painting your fairings
Painting your 125 takes time, but with a bit of practice it's easy to do in your garage with a spray can. There are just a few steps:
First sand the fairing panels with coarse and then increasingly fine sandpaper. Finish with fine wet-and-dry paper for the best result, then degrease and clean the parts REALLY thoroughly – brake cleaner or petrol works well. If you use petrol, first test that the plastic is petrol-resistant and won't dissolve. Make sure all traces of petrol or brake cleaner have fully evaporated, otherwise the new paint won't stick.
Use primer or, for plastic parts, adhesion promoter – a thin coat is enough. Now for the actual painting. Warm the spray can slightly and shake it well. We recommend using a spray gun trigger attachment – it's easier on your hand. Always spray one coat horizontally, then one vertically.
For the clear coat finish, it's up to you whether you go matt or gloss. Either way, we recommend using clear coat even over a matt base coat: a clear coat is much easier to clean than coloured paint, and it also protects the colour from UV rays.